Hello, with Microsoft PowerPoint 2016, PowerPoint 2019 version, you can using it for recording Windows screen or your activity on Windows. Because in this application is media tools. Screen recording is important tools for you, when you don’t have Screen recording application on PC. And it can save it as MP4.
PowerPoint Contents:
How to using Microsoft PowerPoint Record Screen
Easy for screen recording, so you can do it with some step :
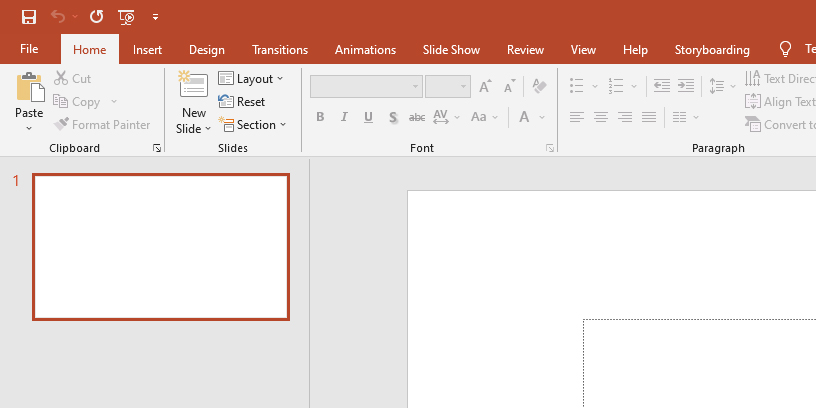
1 – Open Microsoft PowerPoint Application
Open your PowerPoint and create a new blank presentation.
2 – Go to Insert Tab
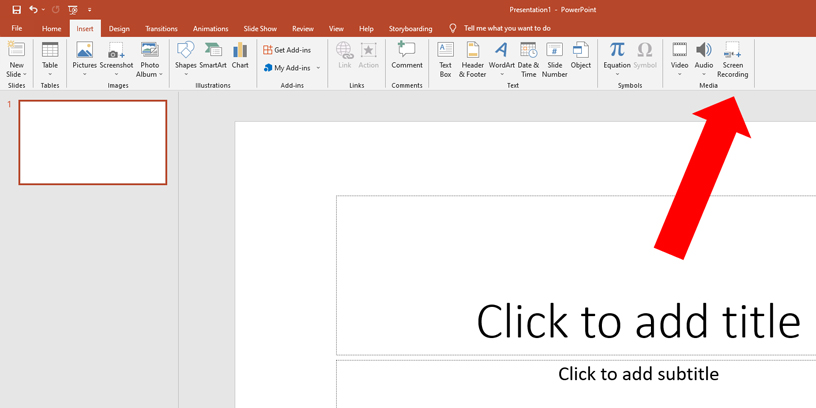
Insert tab have more tools, so you find Media group, and then click on Screen Recording in group.
3 – Show Recording Tools On Screen
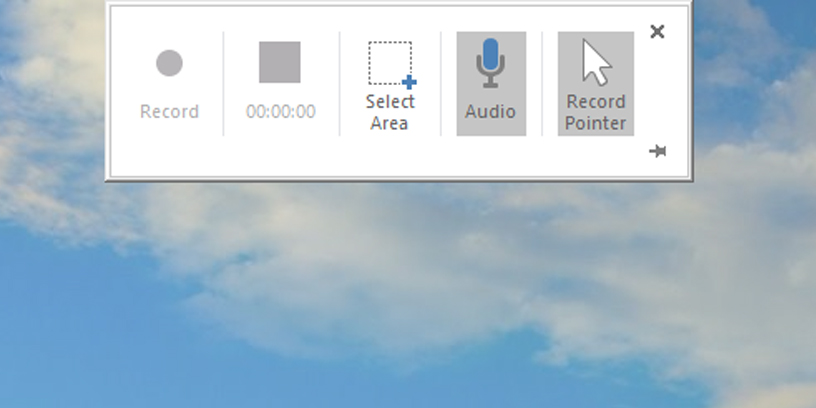
When you click on Screen Recording, your Microsoft PowerPoint application will be minimize, and recording tools will show on your screen.
Recording tools :
- record : will enable when you select area for recording
- timer of recording : a recording time of your video
- select area : select area that you want to record
- audio : you can turn on or turn off audio recording
- record pointer : turn on or turn off mouse pointer
4 – Start Recording
The first you decide turn on or turn off Audio or Record Pointer, and second you must be using Select Area select any area which you want to record, and then click on Record button.
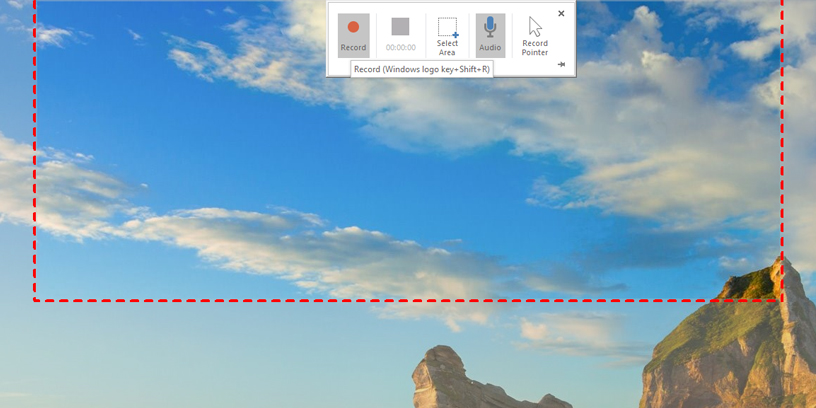
When you click on Record button, it’s mean that your recording start
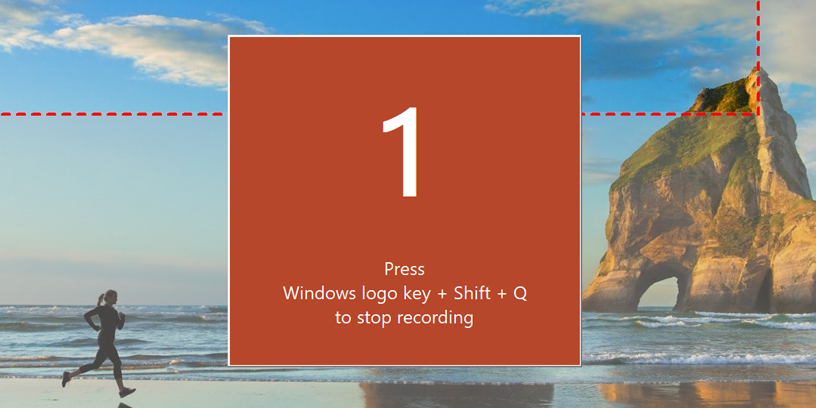
So you can do activity on area screen. And when you want to pause your record, you can click on pause button and continues click on record button but if your finish your activity recording, you click Stop button.
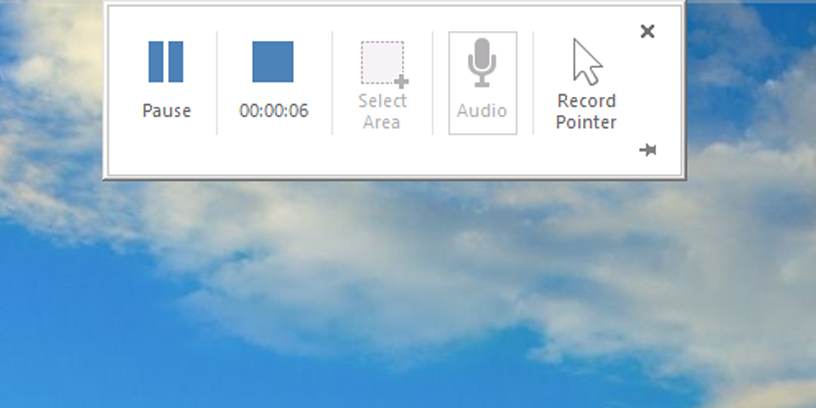
When you click stop button on timer, so your video recording will insert into PowerPoint slide.
And if you want to save this video as video file, you can right-click on video and choose Save media as.
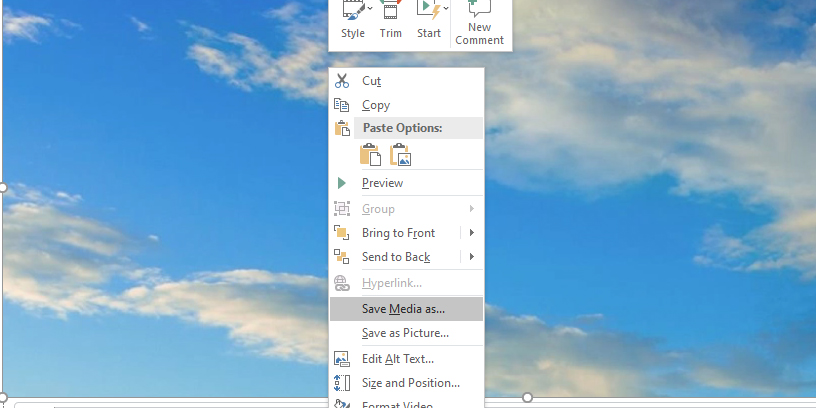
Select your video save place and put your name of video file and click Save.

