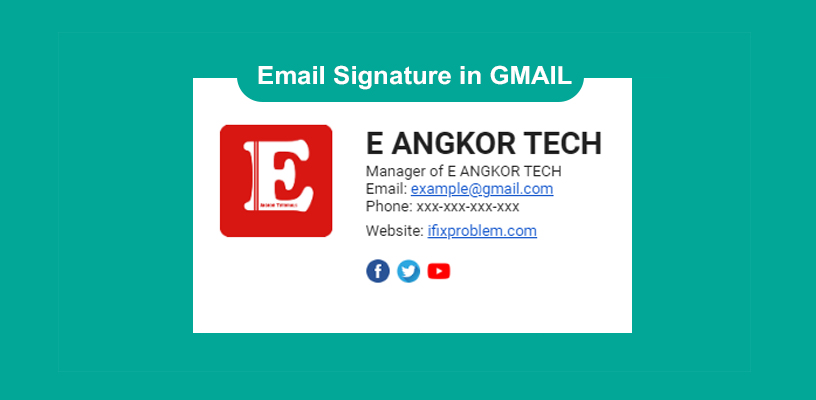
Email signature is the text and photo for your contact information and introduction about your self. And it added automatically at the end of the Gmail message.
Usually email signature has your photo, name, work or position, mobile phone, email, and website. But it’s in depends on yourself, you can custom as your professional signature.
Gmail Contents:
For this article, I show you how to add a email signature in Gmail, So please follow with me step by step:
How to add a professional email signature in Gmail
1- Open Gmail
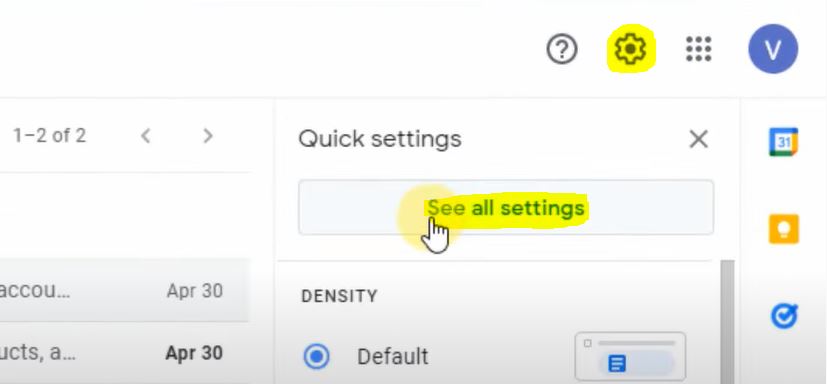
2- In the top right of Gmail page, click on the Settings ⚙ and then click on See all settings.
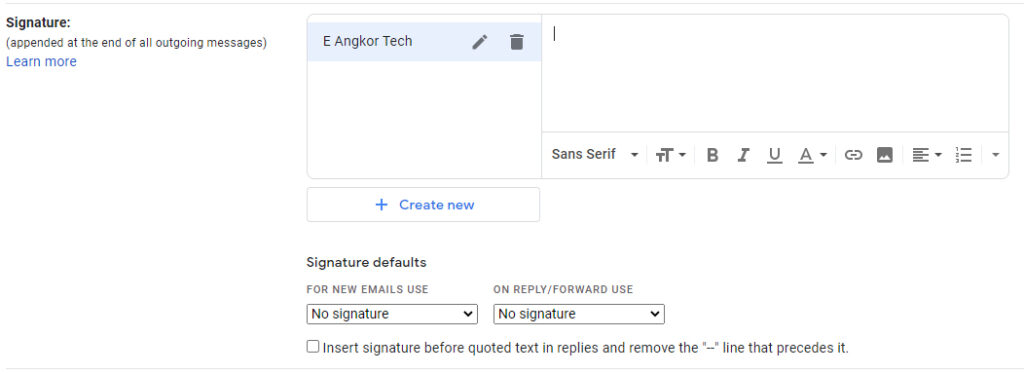
3- On the General tab, scroll down and find a Signature section, click on the Create new for creating a name new signature and adding a signature text and photo to a text editor.
4- In the text editor, you can add the photo and text. For text editor, you can change fonts, size, bold, italic, underline, text color, highlighter color, add link, add image, text alignment, list, and other tools.
5- To add a professional format form in a text editor, you can complete it with Microsoft Word and select all, and then copy them
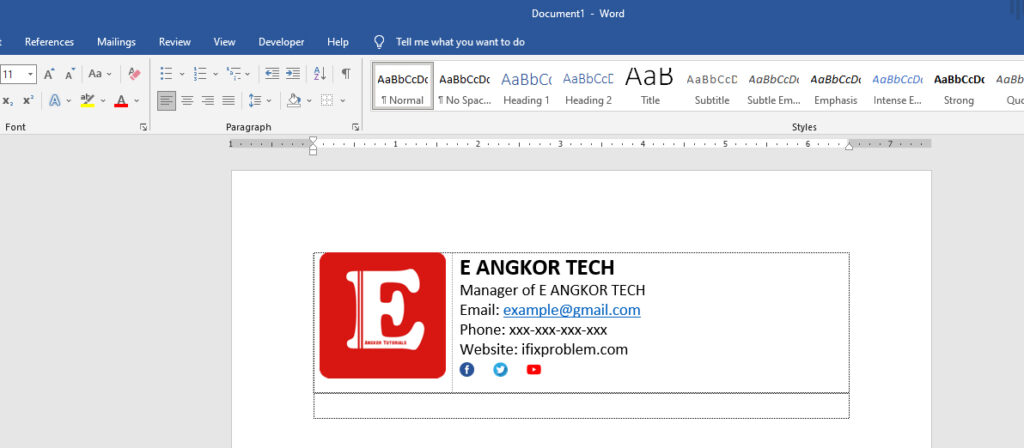
6- Paste your work from Microsoft Word to a text editor, in this step you will lose all images. So please insert them again in a text editor and resize image size and then select on social media icon for adding a link (if you need).
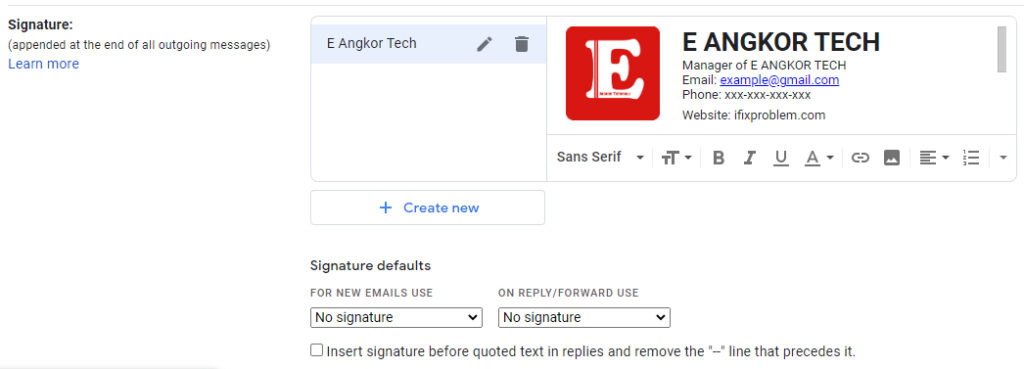
7- In the Signature defaults, select your signature name
8- Scrolling down and find a Save changes button of this page.
Final Result:
