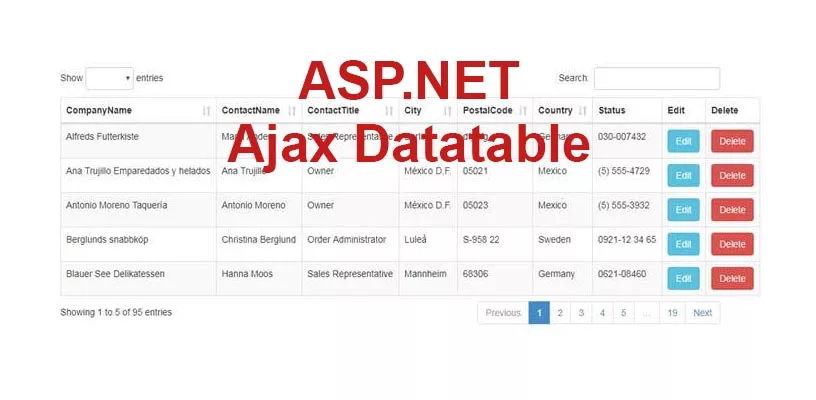
The example code is being developed in Microsoft Visual Studio 2017 Professional. You can create an ASP.NET MVC application and implement jQuery DataTables with dynamic columns. Here’s a step-by-step guide:
Step 1: Set Up the Database
Create a table in your SQL Server database with columns that can cater to dynamic data. For example:
CREATE TABLE DynamicData (
    ID INT PRIMARY KEY,
    Name NVARCHAR(100),
    Age INT,
    City NVARCHAR(100),
    -- Add other columns as needed
);
Step 2: Create a New ASP.NET MVC Project
- Open Visual Studio 2017.
- Go to
File->New->Project. - Select
Visual C#->Web->ASP.NET Web Application. - Name your project and click
OK. - Choose
MVCtemplate and clickOKto create the project.
Step 3: Set Up the Database
Create a SQL Server database with a table similar to the example provided earlier in SQL Server Management Studio.
Step 4: Create Model and DbContext
Create a model to represent your data. For instance, create a DynamicData model in the Models folder:
// DynamicData.cs
using System.ComponentModel.DataAnnotations;

public class DynamicData
{
    [Key]
    public int ID { get; set; }
    public string Name { get; set; }
    public int Age { get; set; }
    public string City { get; set; }
    // Add other properties as needed
}
Create a DbContext to interact with the database:
// ApplicationDbContext.cs
using System.Data.Entity;

public class ApplicationDbContext : DbContext
{
    public ApplicationDbContext() : base("DefaultConnection")
    {
    }

    public DbSet<DynamicData> DynamicData { get; set; }
}
Step 5: Create Controller and Views
Create a controller named DynamicDataController with actions to render the view and fetch data.
// DynamicDataController.cs
using System.Linq;
using System.Web.Mvc;

public class DynamicDataController : Controller
{
    private ApplicationDbContext _dbContext;

    public DynamicDataController()
    {
        _dbContext = new ApplicationDbContext();
    }

    public ActionResult Index()
    {
        return View();
    }

    public ActionResult GetDynamicData()
    {
        var data = _dbContext.DynamicData.ToList();
        return Json(new { data = data }, JsonRequestBehavior.AllowGet);
    }
}
Step 6: Create View
Create a view file named Index.cshtml within the DynamicData folder.
@{
    ViewBag.Title = "Dynamic DataTable";
}

<table id="dynamicTable" class="display" style="width:100%">
    <thead>
        <tr>
            <th>ID</th>
            <th>Name</th>
            <th>Age</th>
            <th>City</th>
            <!-- Add other column headers as needed -->
        </tr>
    </thead>
</table>

@section scripts {
    <script src="https://code.jquery.com/jquery-3.6.0.min.js"></script>
    <script src="https://cdn.datatables.net/1.11.5/js/jquery.dataTables.min.js"></script>
    <script>
        $(document).ready(function () {
            $('#dynamicTable').DataTable({
                "processing": true,
                "serverSide": false,
                "ajax": {
                    "url": '@Url.Action("GetDynamicData", "DynamicData")',
                    "type": "GET",
                    "datatype": "json"
                },
                "columns": [
                    { "data": "ID" },
                    { "data": "Name" },
                    { "data": "Age" },
                    { "data": "City" },
                    // Add other column configurations as needed
                ]
                // Add other DataTable configurations as needed
            });
        });
    </script>
}
Step 7: Run the Application
Run the application and navigate to https://localhost:<port>/DynamicData/Index to see the DataTable populated with the fetched dynamic data from the database.
Ensure the necessary NuGet packages like EntityFramework, jQuery, and DataTables are installed in your project to avoid any missing references or issues.
Adjust the DbContext connection string in web.config to match your SQL Server configuration (<connectionStrings> section).
This setup should provide you with a foundation to implement jQuery DataTables with dynamic columns in an ASP.NET MVC application using Visual Studio 2017.


